
This short guide will take you through the process of creating new users in Oracle OBIEE and WebLogic as well as introducing security concepts including the use of security groups and application roles to control data access.
Before you start
Before proceeding with this tutorial, you will need:
This short guide will take you through the process of creating new users in Oracle OBIEE and WebLogic as well as introducing security concepts including the use of security groups and application roles to control data access.
Before you start
Before proceeding with this tutorial, you will need:
- An Oracle 11g database that is installed and running.
- A working WebLogic install.
- WebLogic/OBIEE credentials with the appropriate level of permissions to create and administer other user accounts.
- A login for the Enterprise Manager Fusion Control panel.
Once you have each of these in place, you are ready to proceed.
Viewing your own user permissions
Log into the OBIEE WebLogic console using your admin credentials and proceed to the “welcome” screen.
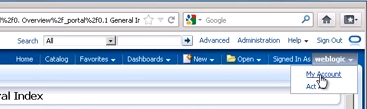
- Click on your user name in the top right-hand corner of the screen and select My Account from the drop-down menu:

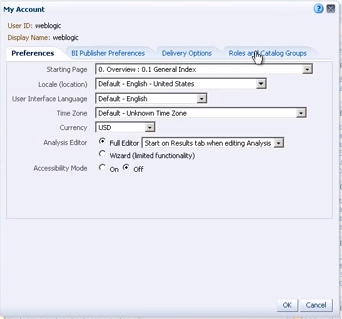
- In the My Account pop-up box, select the Roles and Catalog Groups tab:

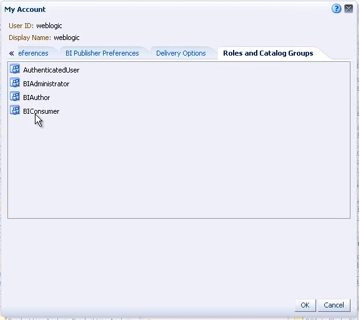
This will then show a list of the groups to which your account belongs:
- Click OK or Cancel to close the dialog box.
At this point you cannot change any of your permissions or group memberships, but you can at least get an idea of what you are permitted to do with the system.
Viewing other WebLogic user accounts and permissions
Fire up the WebLogin console and login with an administrator-level account.
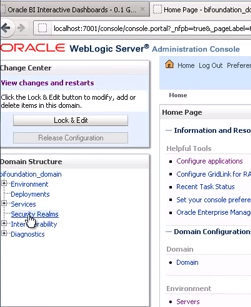
- When the Administration Console screen opens, select Security Realm from the Domain Structure pane on the left-hand side of the screen:

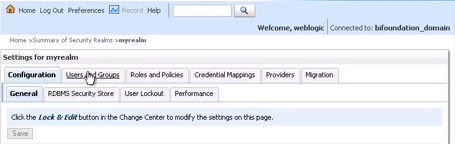
- The main console pane will now refresh. Click on the relevant realm from the list displayed. In our example it is called myrealm (which also happens to be the default realm created when first installing OBIEE).

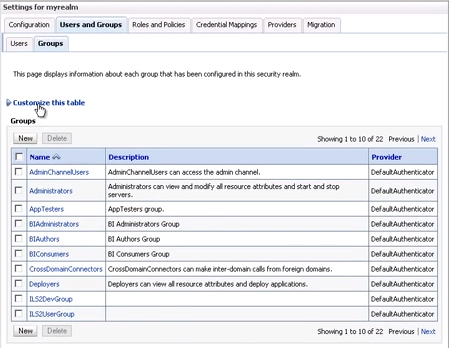
- With the details of myrealm loaded, select the Users and Groups tab:

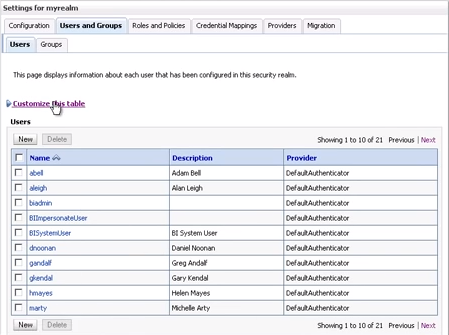
- You will now be presented with a table containing the registered OBIEE users:

Bear in mind that the system displays only ten accounts at a time by default. You can change this by clicking the Customize this table link and making adjustments as you see fit.

Creating a new WebLogic user
Creating a new WebLogic user account is relatively straightforward too.
- From within the Users and Groups tab of the myrealm security realm click the New button:

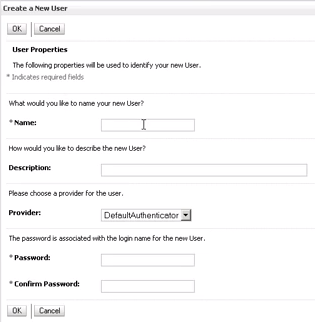
- Complete the Create a New User form ensuring that you supply a Name and a Password at the very least:

Click OK to continue. - You are now returned to the list of users where you will see a message confirming successful creation of the new user account:


You should be able to test the new account by trying to log into the WebLogic interface with the user name and password you just created. Rememeber that this new account will have relatively restricted access to WebLogic functions based on the default new user account settings.
Checking Application Role permissions
Users can also be assigned permissions via Application Roles. Application Roles apple security group permissions to user accounts, adding an additional layer of security. Application Roles can be modified by logging into the Enterprise Manager Fusion Control interface with an admin-level account.
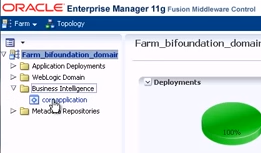
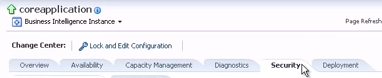
- From the left-hand tree-view panel, select Business Intelligence -> coreapplication

- Click the Security tab in the main window:

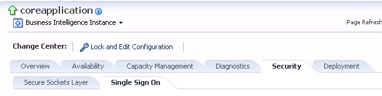
- Select the Single Sign On sub-tab:

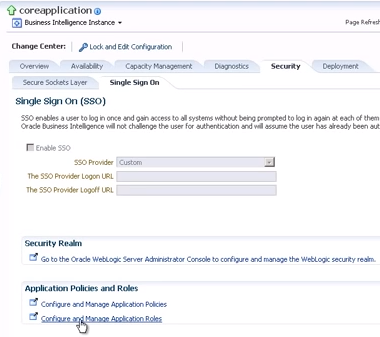
- Click the Configure and Manage Application Roles link at the bottom of the page:

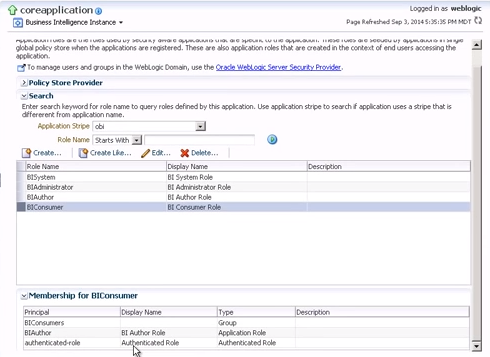
- When the screen reloads you will be able to see a list of the available application roles. By selecting one, in this case BIConsumer, you will then see a list of users who are members of that role:

Note that authenticated-role one of the default memberships discovered above is also a member of the BIConsumer role, helping to explain why all new users receive both permissions by default.
At this point you can assign users new application role permissions directly using this screen – this is not however considered best practice. Instead you should be looking to associate users with groups, and groups with application roles.
Assigning permissions to WebLogic users
Once you understand the difference between security groups and application roles, changing user group memberships is relatively simple.
- From the Users and Groups tab of the myrealm security realm click the Groups tab:

Check for the group that you want to add your new user to – for our example we will be working with the group that has already been defined as BIAuthors.As before the system displays just ten groups by default. You can change the number of records displayed by clicking the Customize this table link and making the necessary alterations.
- Click the Users sub-tab above the tableand then select the new user’s name from the table displayed.
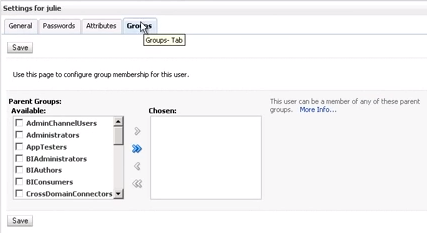
- When the Settings screen reloads, click the Groups tab:

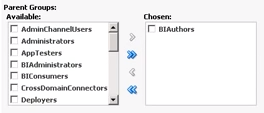
- Select the desired Parent Group from the list on the left, then click the blue arrow to add it to the Chosen column:

Click Save to apply the account changes.
The user will now need to log out of the OBIEE for the new permissions to apply. Upon next login the new Application Role settings will have been added to the account and the user will have access to additional functions as defined in the BIAuthors application role. You can confirm the new permissions have been applied by checking the My Account settings as detailed above.
Did you find this tutorial useful? Someone else you know will too! Please share and spread the knowledge to your followers!
And that is pretty much all there is to creating user accounts and assigning permissions. Click here to check out Firebox Training’s public OBIEE online training courses. You can find a video version of this Creating Users in Oracle OBIEE and WebLogic tutorial on our YouTube channel.


